
Witch Finger Cookies
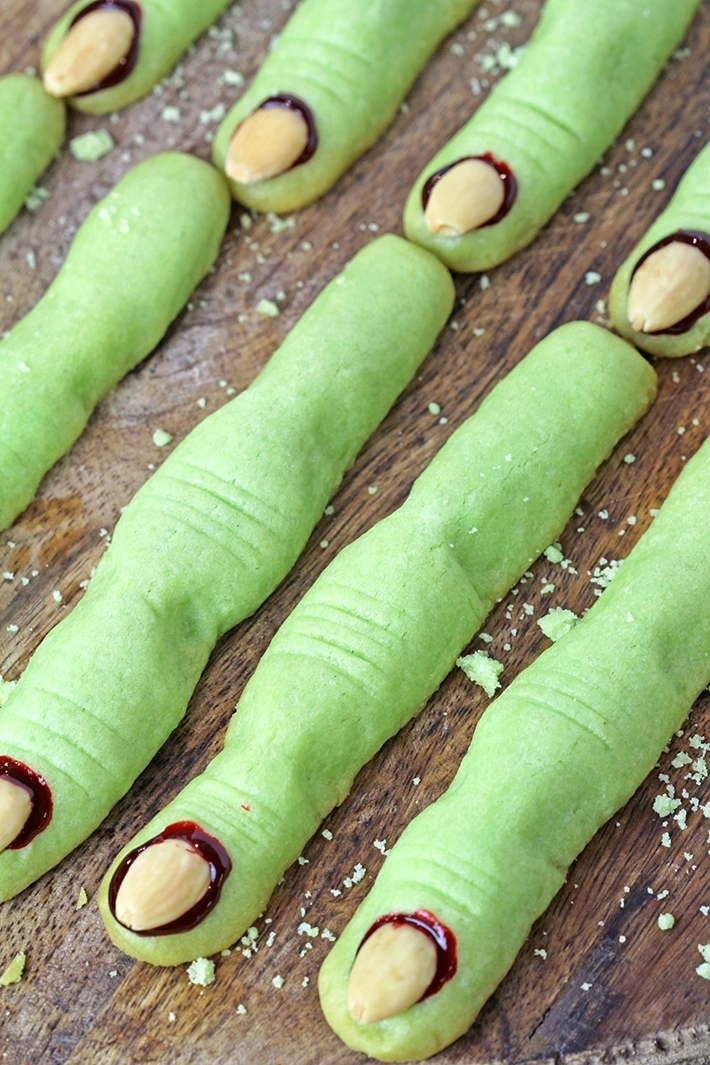
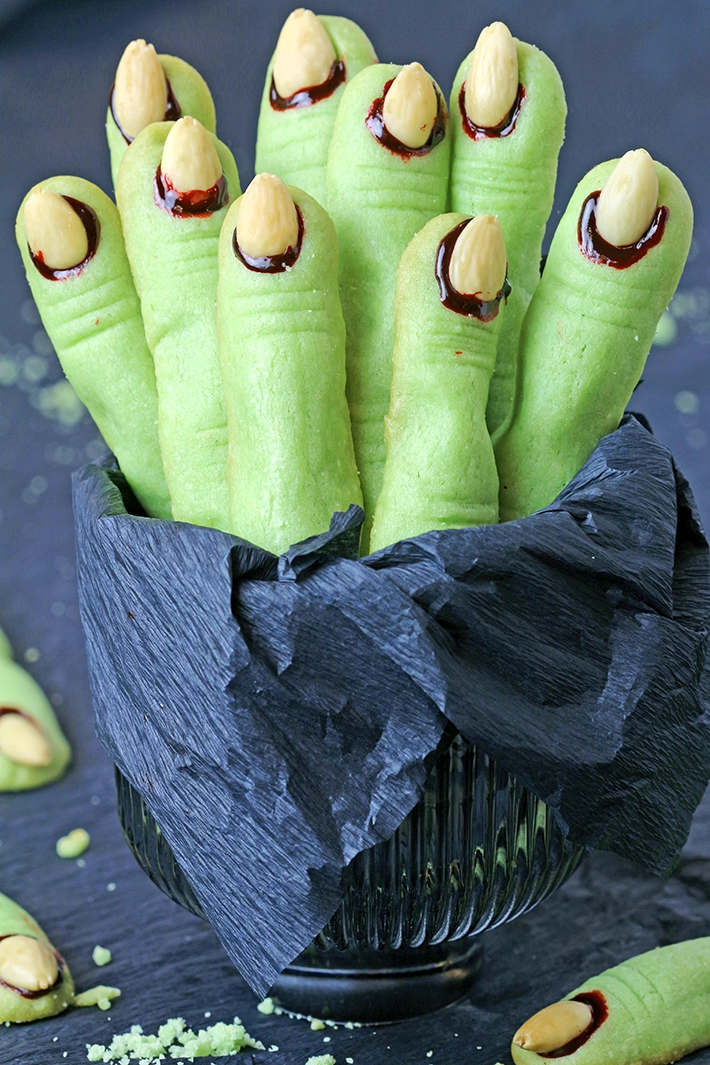
These Witch Finger Cookies are spooky, buttery, and deliciously crisp, making them a fun addition to your Halloween dessert table. They're easy to make, perfect for Halloween parties, and a great baking project to enjoy with kids. With their creepy finger shape and almond fingernails, these cookies are sure to be a hit with everyone!
Complete your Halloween dessert table with more fun treats, including our Dirt Pudding Recipe, M&M's Pumpkin Pretzel Bark, and Dirt Cake Cookies. These festive treats are perfect for parties, family gatherings, and spooky celebrations!
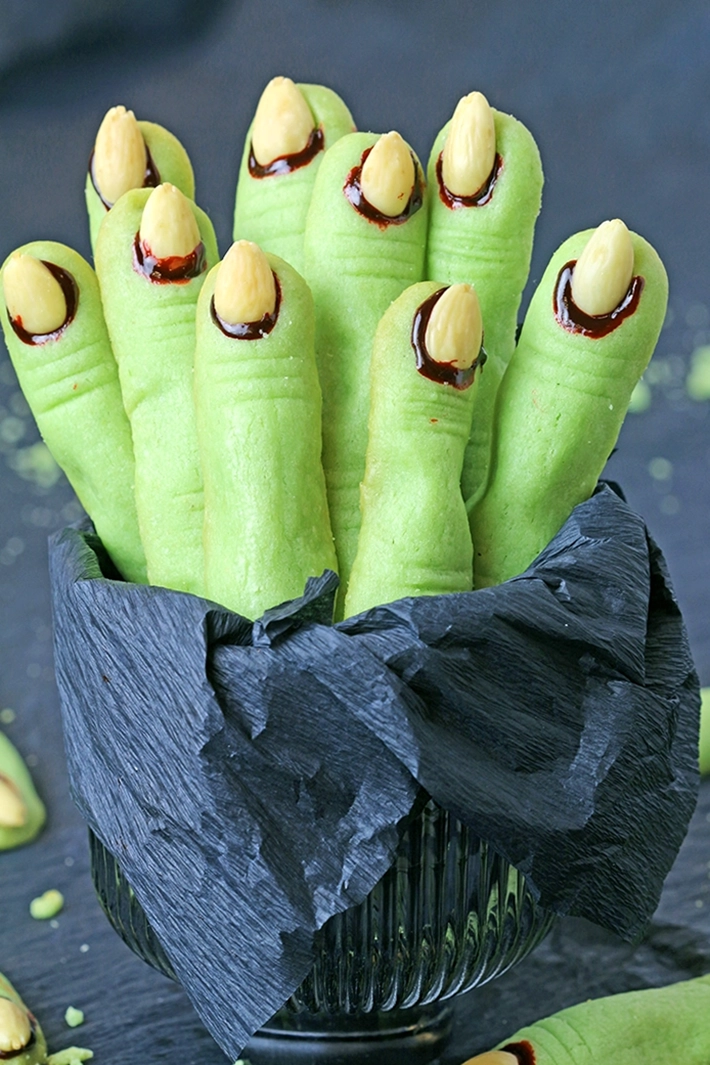
These Witch Finger Cookies are a spooky addition to any Halloween dessert table and are sure to be a hit at your next party. Made with simple ingredients, they're easy to prepare and fun to decorate. Kids can join in, too, making these creepy cookies a great Halloween baking activity for the whole family.
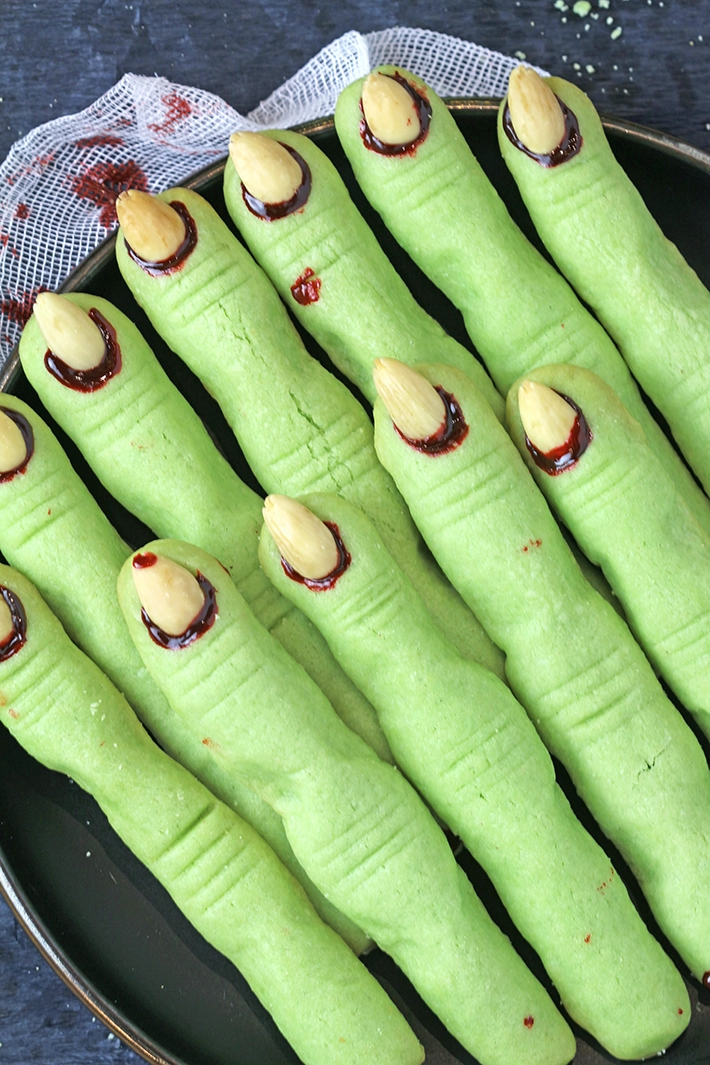
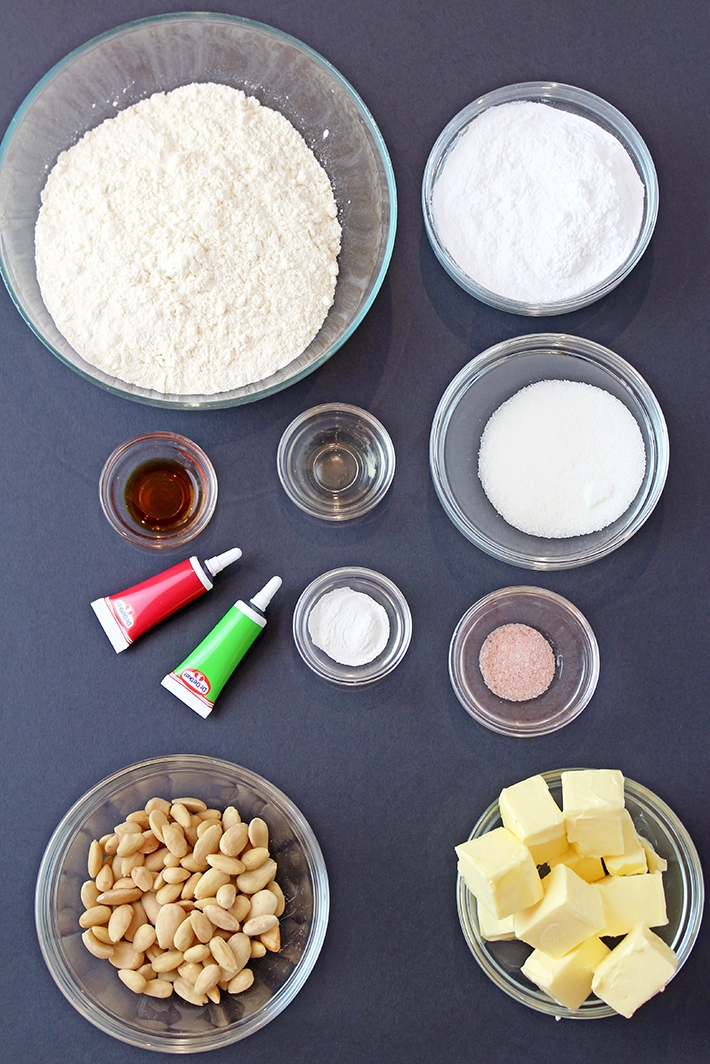
Key ingredients for Witch Finger Cookies:
- Unsalted Butter: Softened butter gives these cookies a rich, buttery flavor and a tender texture. If you love baking cookies with butter, try our Reese's Pieces Cookies for another delicious homemade treat.
- Powdered Sugar: Adds sweetness and helps create a smooth, delicate cookie texture.
- Granulated Sugar: Adds sweetness and helps balance the texture of the cookies.
- Egg: Binds the ingredients together and helps give the dough structure.
- Almond Extract: Adds a delicious almond flavor that pairs perfectly with the buttery cookies.
- Vanilla Extract: Enhances the flavor and adds a warm, sweet aroma.
- All-Purpose Flour: Provides structure and helps the cookies hold their creepy finger shape.
- Salt: Balances the sweetness and enhances the other flavors.
- Baking Powder: Helps the cookies rise slightly while baking.
- Whole Blanched Almonds: Serve as spooky fingernails and give the cookies their signature witch finger appearance.
- Green Food Coloring: Gives the cookie dough a classic green witch finger color.
- Red Decorating Gel: Adds a spooky, bloody detail around the almond fingernails for a fun Halloween finish.
How to Make Witch Finger Cookies
Make the Dough
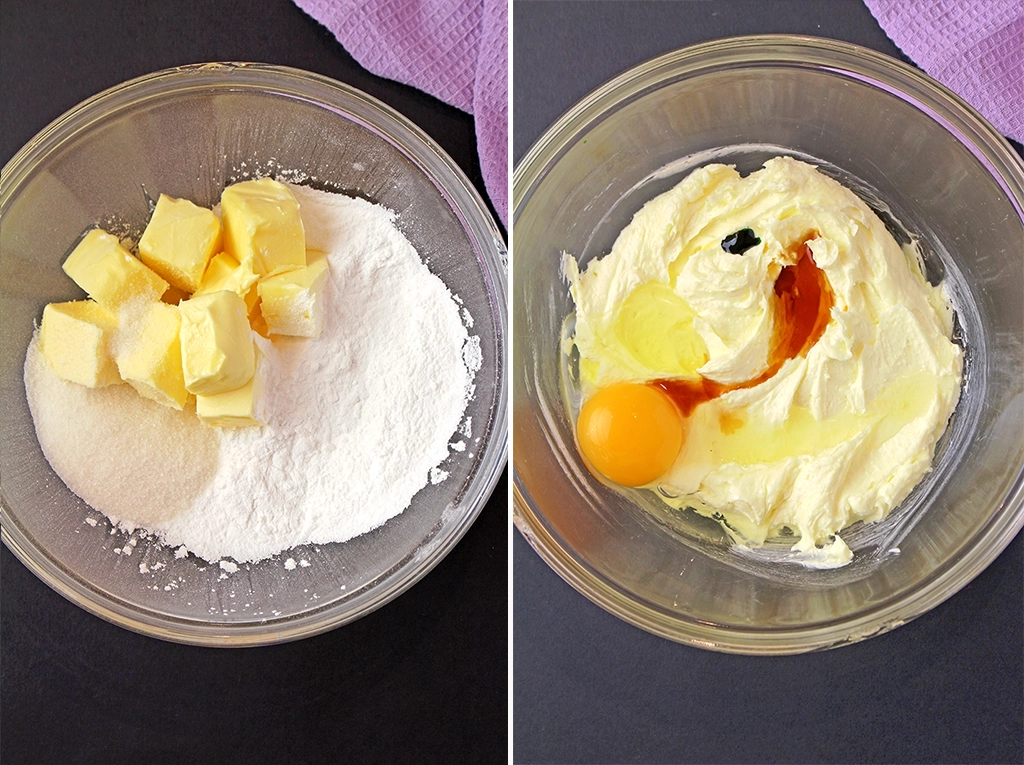
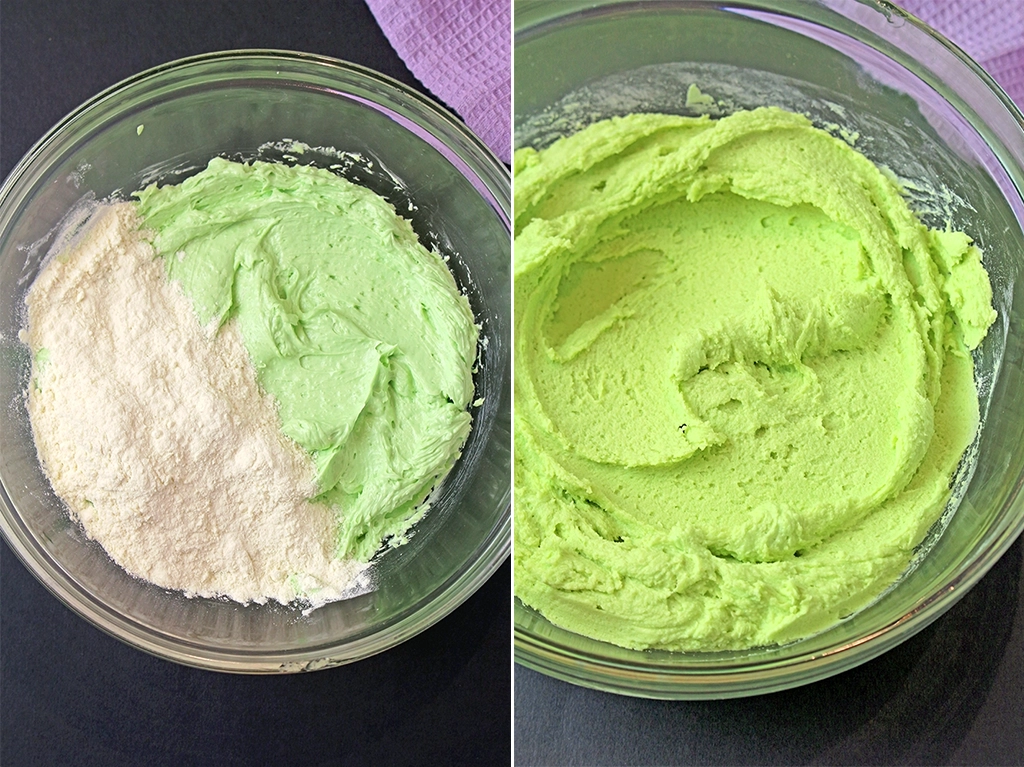
In a medium bowl, whisk together the sifted flour, baking powder, and salt. Set aside. In a separate large bowl, beat the softened butter, powdered sugar, and granulated sugar until light and fluffy. Add the egg, almond extract, vanilla extract, and green food coloring, and mix until well combined. Scrape down the sides of the bowl, add the dry ingredients, and mix just until a soft dough forms. Cover the bowl with plastic wrap and refrigerate for about 2 hours, or until the dough is firm enough to shape.
Shape the Cookies
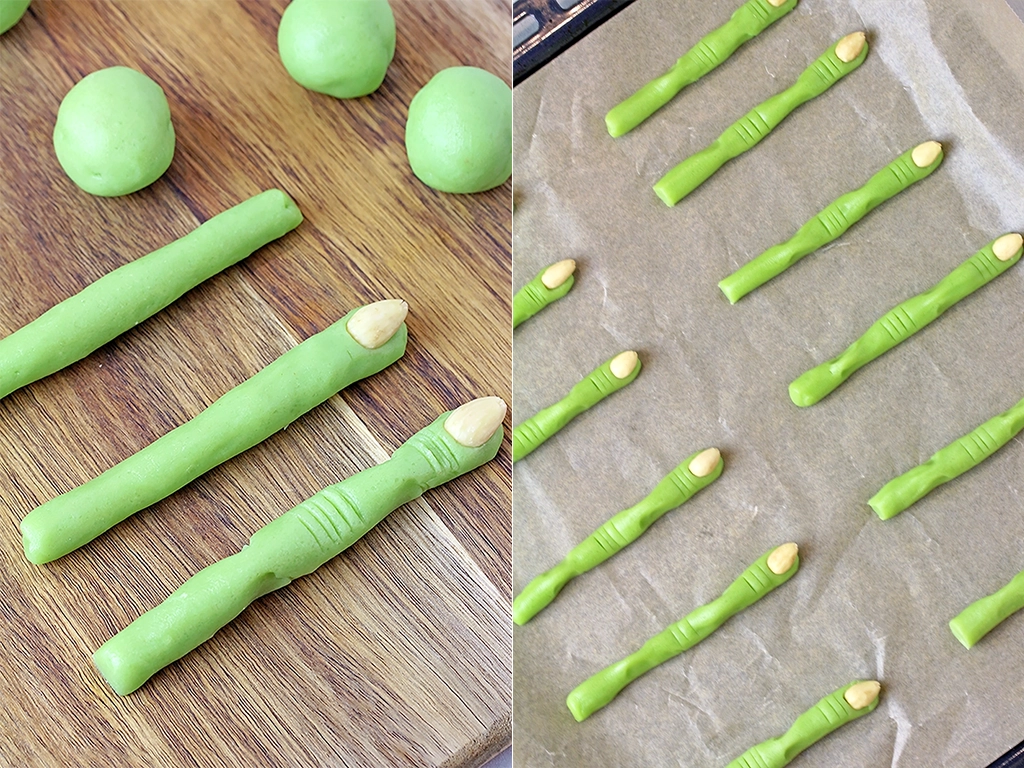
Remove a portion of the chilled dough from the refrigerator, keeping the remaining dough cold. Scoop about 1 tablespoon of dough and roll it into a thin log to form a finger. Press a blanched almond onto one end to create the fingernail. Use a small knife to make shallow lines below the nail and across the middle of the finger to create knuckle details. Gently pinch the dough around the knuckles to give each cookie a more realistic witch finger shape.
Bake the Cookies
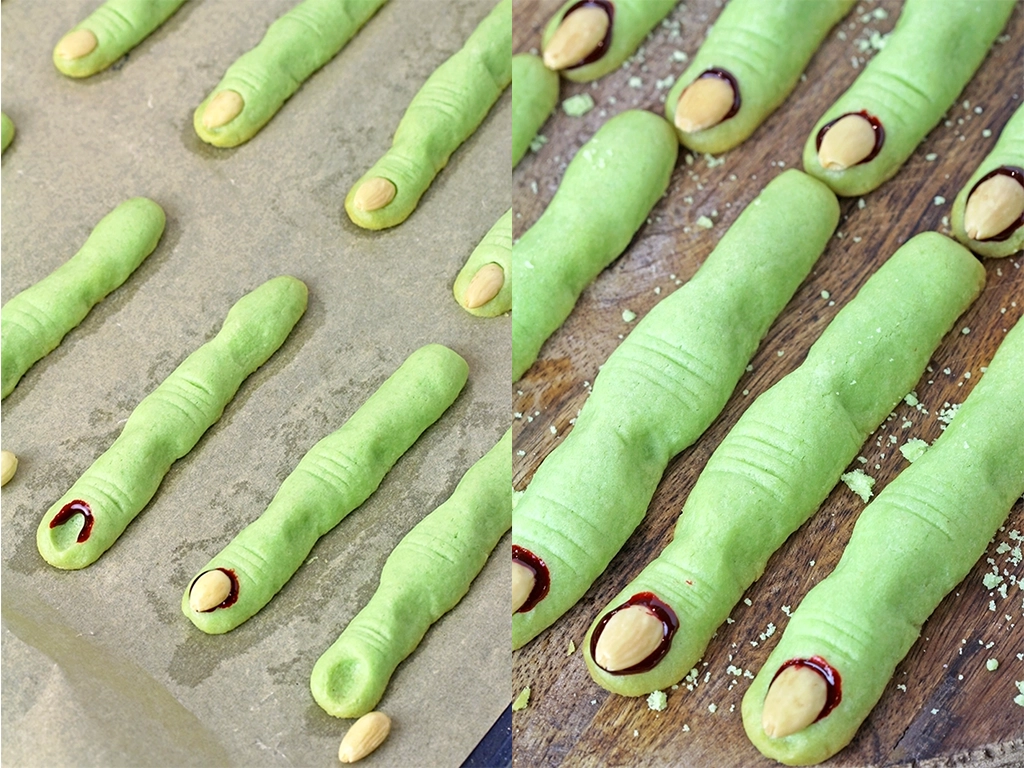
Preheat the oven to 325°F (163°C) and bake the cookies for about 15 minutes, or until the bottoms are lightly golden. Let the cookies cool on the baking sheet until they are firm enough to handle. Carefully remove each almond, add a small dab of red decorating gel to the nail bed, and gently press the almond back into place. Allow the cookies to cool completely before serving.
Tips for Perfectly Spooky Witch Finger Cookies
Bake 2-3 test cookies first. This helps you check whether the dough spreads too much and adjust the shape or chilling time before baking the entire batch.
Chill the dough until firm. Refrigerate for at least 2 hours, or overnight for best results. Work with small batches and keep the remaining dough refrigerated while shaping the cookies. For another cookie recipe that benefits from chilling the dough, try our Chocolate Chip Shortbread Cookie Sticks.
Shape the fingers slightly thinner. The dough may spread during baking, so make the fingers a little thinner than your desired final size. Pinch the dough around the knuckles to create a realistic finger shape.
Add extra flour only if needed. If the dough is too sticky to handle, mix in 1 tablespoon of flour at a time. Avoid adding too much, as this can make the cookies dry.
Watch the baking time carefully. Bake until the bottoms are lightly golden. The cookies may feel slightly soft when they come out of the oven but will firm up as they cool. Avoid overbaking to help preserve their green color.
Adjust the shape while the cookies are warm. If the fingers flatten during baking, gently reshape the knuckles as soon as the cookies come out of the oven, while they are still soft. Be careful not to break them.
Press the almonds firmly into the dough. Place each blanched almond at the fingertip and press it gently into the dough so it stays in place during baking. Add the red decorating gel after the cookies have cooled for a spooky finishing touch.
Frequently Asked Questions
Why Do Witch Finger Cookies Spread Too Much?
Witch Finger Cookies may spread if the dough is too warm or hasn't been chilled long enough. Refrigerate the dough for at least 2 hours and keep it cold while shaping the cookies. Baking 2-3 test cookies first can help you check their shape before baking the entire batch.
Can I Make Witch Finger Halloween Cookies Ahead of Time?
Yes! You can prepare these Halloween cookies a day or two ahead. Once completely cooled, store them in an airtight container at room temperature. You can also prepare the dough in advance and refrigerate it until you're ready to shape and bake the cookies.
How Should I Store These Spooky Finger-Shaped Cookies?
Store completely cooled cookies in an airtight container at room temperature for up to 5 days. Keep them in a cool, dry place to help maintain their texture and appearance.
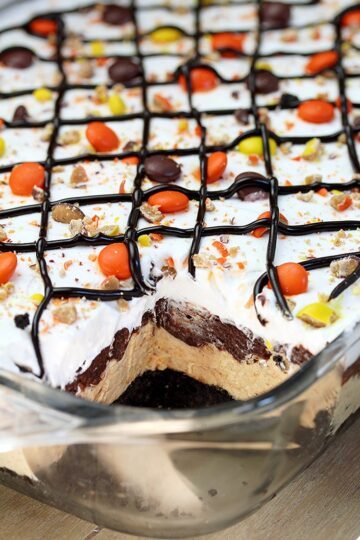
If you're planning a festive dessert table for Halloween or simply love making fun, sweet treats for family and friends, try our Halloween Candy Corn Oreo Pops and Pumpkin Chocolate Cups for more seasonal favorites, or indulge in our creamy, layered Reese's Pieces Peanut Butter Chocolate Lasagna, a delicious no-bake dessert that's perfect for parties, holidays, and any occasion that calls for something extra sweet!
Loved this recipe? We'd be thrilled if you came back to Give it a Star Rating ⭐⭐⭐⭐⭐, follow me on Social Media - Pinterest, Facebook and Instagram. Subscribe for more and share your thoughts in the comments!
Witch Finger Cookies
Ingredients
- 1 cup unsalted butter
- 1 cup powdered sugar
- ⅓ cup granulates sugar
- 1 large egg
- 1 teaspoon almond extract
- 1 teaspoon vanilla extract
- 2 3/ ;4 cups all purpose flour
- ¾ teaspoon salt
- 1 teaspoon baking powder
- 30 whole blanched almonds
- green food coloring
- red decorate gel
Instructions
Make the Dough
- In a medium bowl, whisk together the sifted flour, baking powder, and salt. Set aside.
- In a separate large bowl, beat the softened butter, powdered sugar, and granulated sugar with an electric mixer on medium-high speed until fluffy.
- Add the egg, almond extract, vanilla extract, and a few drops of green food coloring, and beat until combined.
- Scrape down the sides of the bowl, add the dry ingredients, and mix on low speed until just combined. If the color isn't green enough, add a few more drops of food coloring until you reach the desired shade.
- Wrap the bowl and chill until firm, for about 2 hours, or overnight for best results.
Shape the Cookies
- Preheat the oven to 325°F (163°C). Line a baking sheet with parchment paper or a silicone mat.
- Remove a portion of the dough from the refrigerator, keeping the rest chilled.
- Scoop about 1 tablespoon of dough and roll it into a thin log to resemble a finger. Press an almond onto one end to form a fingernail.
- Using a small knife, score lines just below the nail and across the middle to create knuckles. Finally, gently pinch the dough between the knuckles to get the finger-like look. (see reference photo).
- Work in batches to prevent the dough from becoming too soft.
Baking
- Bake for about 15 minutes, or until the bottoms are lightly golden.
- Once the cookies have cooled slightly and firmed up, remove the almond, add a small amount of red gel food coloring around the nail bed, and then press the almond back into place.
Notes
- Bake 2-3 test cookies first. If they spread too much while baking, follow these tips to make them perfect:
- Shape the fingers thinner, as the dough will spread in the oven. Add 1 tablespoon of flour at a time, until the dough no longer sticks to your hands. Be careful not to add too much, or the cookies may turn out dry.
- The dough should be cold and firm. If needed, chill for longer than 2 hours - overnight is best. Work in batches.
- If the shaped fingers feel too soft, return them to the refrigerator to firm up before baking.


Made these today and they were so much fun! Everyone loved them
Thank you so much! I’m so happy you had fun making them and that everyone loved them!
Dragana